 |
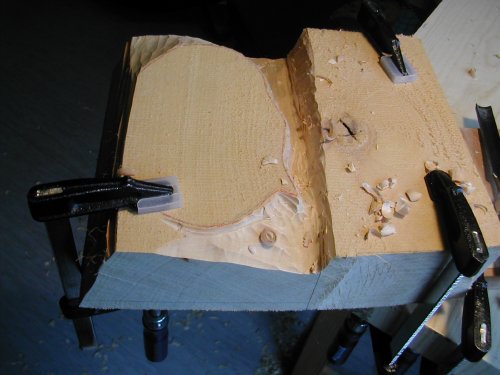
I started by drawing an outline of the complete region which should stay above level, and started to carve the outside down. i chose this way, instead of first sawing the block to size, because of the branch. i not wanted spend a lot labor on sawing the block to size, (which i have to do by hand), only to find the branch goes into the area i want carve. But i was lucky, it stayed outside. |
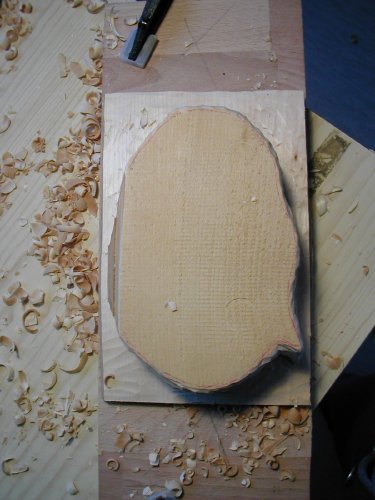 |
Here i have carved down the outside to approximate level, and then cut the not needed part of the block away. |
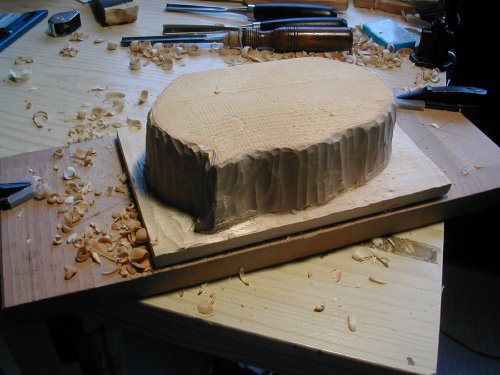 |
Another view of same step, to show the depth i have for carving the face. |
 |
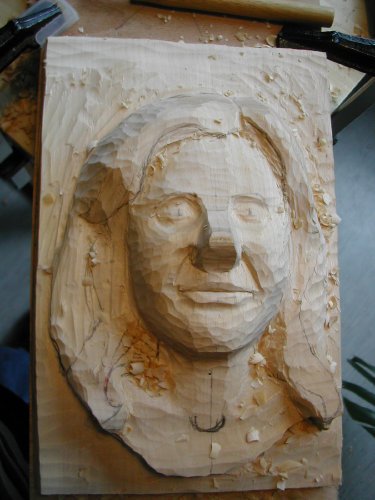
At this stage, I have very loosely blocked in the face, and hair. The focus was on getting the big proportions , and the main angles, right. This was the most difficult one, and required a lot of measuring. But it came out right, i think. |
 |
Now i have refined the blocking in, defined the hills for where the eyes go, and put a mark where the middle of eye will go, for having a reference for measuring. Then I started roughly defining the mouth. |
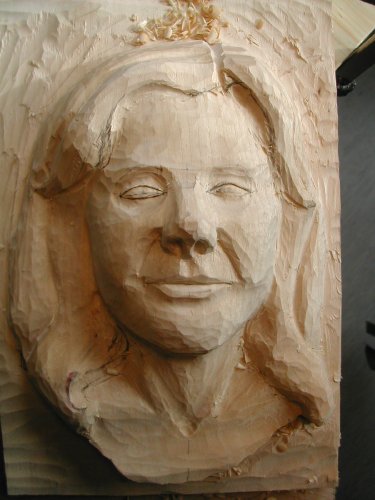 |
More refining the shapes, and carving the nose, and started carving the eyes, too. |
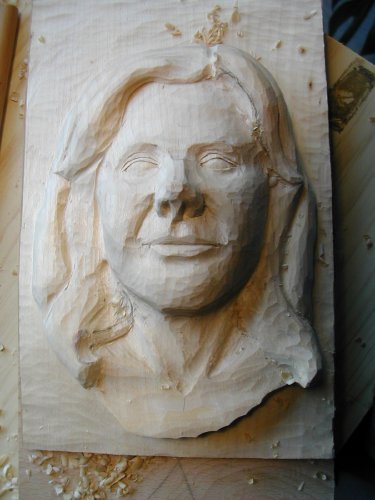 |
This was a tedious step too, cleaning the background, and more important, cut the face clean while bringing the modeling to a finish. From here, its now just cutting smoother, adjusting shapes (for example the chin area), and then finally carve details like hair... |
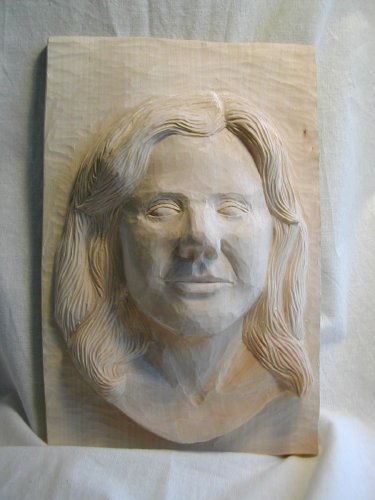 |
The finished carving, and a foto |
 of me...